


If you are a mobile application developer. You definitely know, we should implement uniform themes in our application. Uniform themes are a great way to create a consistent look for your application. They can makes applications look very similar to each other.
 Custom font is a way to achieve it. Fonts can be very important in mobile applications. They make a text more readable and show more attention to various pieces of text. Fonts can make a format look bad or look great depending on how they are integrated into the application. Flutter comes with a few default fonts, however, we are also able to import custom font assets as we would like. After importing the fonts, we can directly call them in the dart code by passing a string to a property.
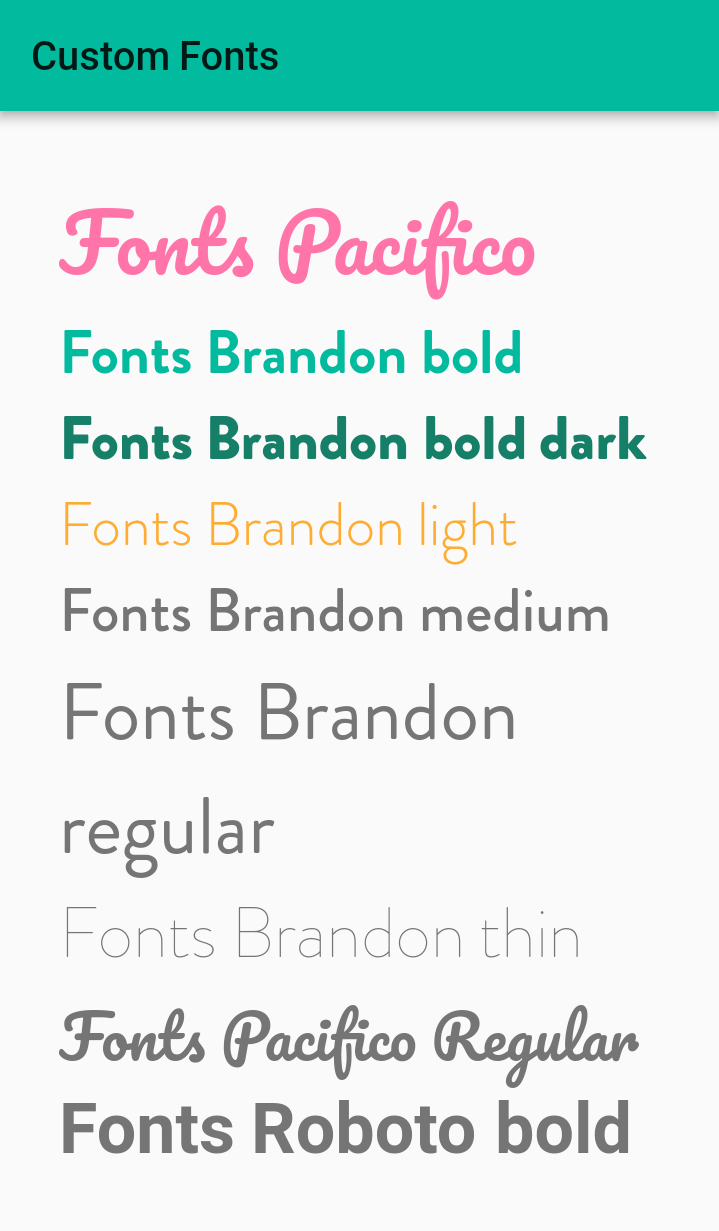
In this post, we'll look at importing custom fonts and using them inside of our application. At the end of this blog, we will be able to add Text with some fonts using flutter widgets which will look like this.

Create a new Flutter Project.
1. Create a new project from File ⇒ New Flutter Project with your development IDE.
2. Create an asset folder on the project root and put all custom fonts that you want to use in the project. As you can see below.

3. After that, declare all the custom fonts in the pubspec.yaml.

As you can see, the font declarations inside of the pubspec.yaml file for our application. In Flutter, we are able to directly specify which font file should correspond with which font family, font weight and font style. This allows us to call these values inside of our application later in a way that feels comfortable.
4. Now, open main.dart file and edit it. As we have set our theme and change debug banner property of Application.
5. After that create a getCustomFont method inside HomePage state full widget class. It'll give a font according to the given param.
6. Now edit build method of HomePage widget. As we have used a column inside of the container and call getCustomFont from the text with different font name, size, and color. Font name should be same as we have declared in the pubspec.yaml.
Now merge all the code snippet. You will find the final code snippet look like below.
Now, run the project and you will see the above output.
If you have followed the article carefully, you can see the app running very smoothly as shown above. But if you facing any problem, please feel free to ask in the comment section below.

In this post, we'll look at importing custom fonts and using them inside of our application. At the end of this blog, we will be able to add Text with some fonts using flutter widgets which will look like this.
Create a new Flutter Project.
1. Create a new project from File ⇒ New Flutter Project with your development IDE.
2. Create an asset folder on the project root and put all custom fonts that you want to use in the project. As you can see below.

3. After that, declare all the custom fonts in the pubspec.yaml.

As you can see, the font declarations inside of the pubspec.yaml file for our application. In Flutter, we are able to directly specify which font file should correspond with which font family, font weight and font style. This allows us to call these values inside of our application later in a way that feels comfortable.
4. Now, open main.dart file and edit it. As we have set our theme and change debug banner property of Application.
5. After that create a getCustomFont method inside HomePage state full widget class. It'll give a font according to the given param.
6. Now edit build method of HomePage widget. As we have used a column inside of the container and call getCustomFont from the text with different font name, size, and color. Font name should be same as we have declared in the pubspec.yaml.
Now merge all the code snippet. You will find the final code snippet look like below.
Now, run the project and you will see the above output.
If you have followed the article carefully, you can see the app running very smoothly as shown above. But if you facing any problem, please feel free to ask in the comment section below.


